Inspektor SCADA
{{#invoke:Template translation|renderTranslatedTemplate|template=Template:Warning|noshift=1}} Inspektor SCADA is no longer developed or supported!
Configure integration with Inspektor SCADA
The manual suggests that you use the controller Wiren Board and existing clients [inspektor.carbonfay.ru Inspektor SCADA]
Client installation
Connect to the controller using SSH/en or Debug UART/en and run
apt-get update
and after
apt-get install wb-scada-client
Read the apt-get message carefully before agreeing!
upon completion of the procedure, it is recommended to reboot the controller by entering the reboot command.
Generate access keys
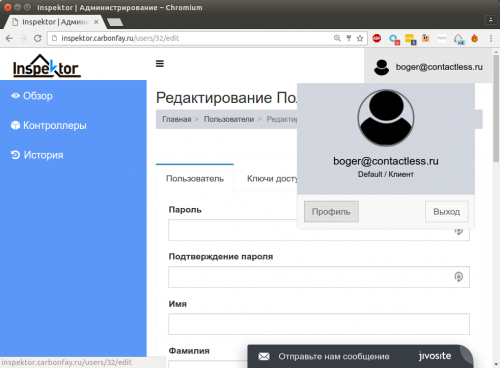
1. Go to the Profile section
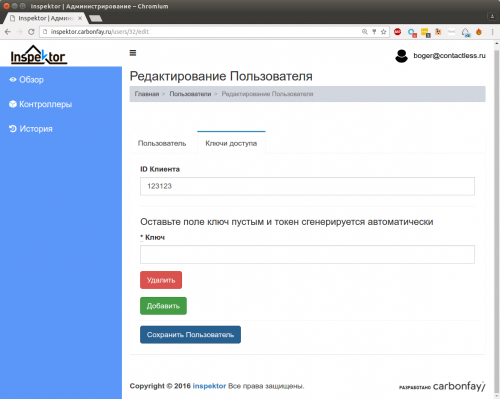
2. Go to the access keys section
3. Make sure that the "customer ID" field is not empty
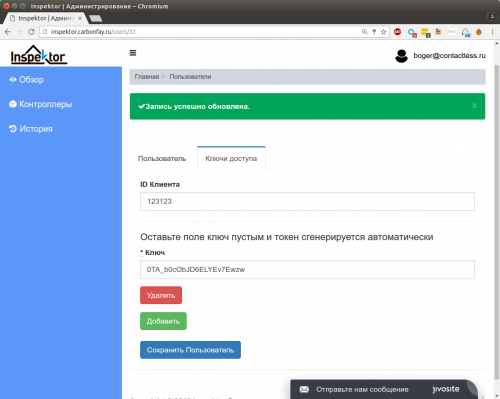
4. Click "Add" and "Save"
5. After successfully adding, go to the access keys section again. Copy the created access key.
Setting up a connection on the controller
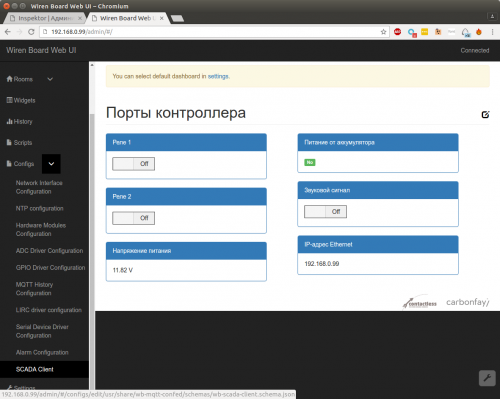
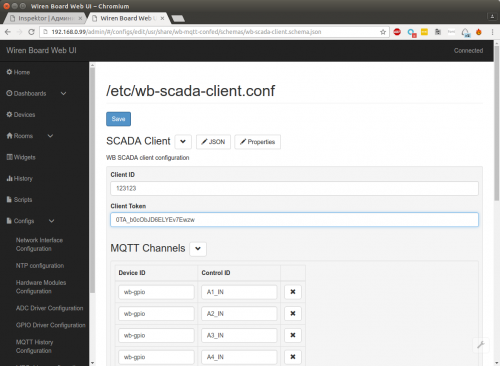
1. Open the controller web interface in a browser. Select the "SCADA Client" submenu in the Configs menu.
2. Add the correct values to the client ID and key fields. Save with Save button
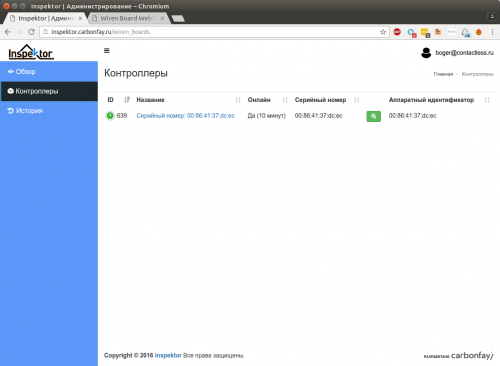
3. Make sure the controller appears in the Inspektor SCADA interface:
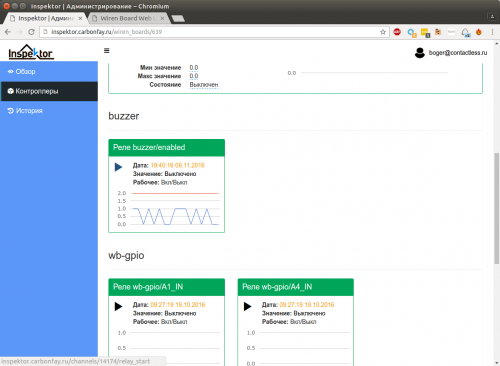
4. Make sure that channel management is working. You can enable buzzer:
Configure channels for synchronization
The necessary channels must be explicitly added to the list in the configuration interface:
Channel names can be found in the Settings section. More information about channels, see MQTT/en
Debug
If something does not work, you can run the command on the controller
tail -f /var/log/messages | grep wb-scada
to view *real-time* error messages
