Inspektor SCADA/en: различия между версиями
(Новая страница: «5. After successfully adding, go to the access keys section again. Copy the created access key.») |
(Новая страница: «=== Setting up a connection on the controller ===») |
||
| Строка 46: | Строка 46: | ||
[[Файл:Inspektor-howto-3.png|500px]] | [[Файл:Inspektor-howto-3.png|500px]] | ||
=== | === Setting up a connection on the controller === | ||
1. Откройте веб-интерфейс контроллера в браузере. Выбирете подменю "SCADA Client" в меню Configs. | 1. Откройте веб-интерфейс контроллера в браузере. Выбирете подменю "SCADA Client" в меню Configs. | ||
Версия 19:43, 18 июля 2019
{{#invoke:Template translation|renderTranslatedTemplate|template=Template:Warning|noshift=1}} Inspektor SCADA is no longer developed or supported!
Configure integration with Inspektor SCADA
The manual suggests that you use the controller Wiren Board and existing clients [inspektor.carbonfay.ru Inspektor SCADA]
Client installation
Connect to the controller using SSH/en or Debug UART/en and run
apt-get update
and after
apt-get install wb-scada-client
Read the apt-get message carefully before agreeing!
upon completion of the procedure, it is recommended to reboot the controller by entering the reboot command.
Generate access keys
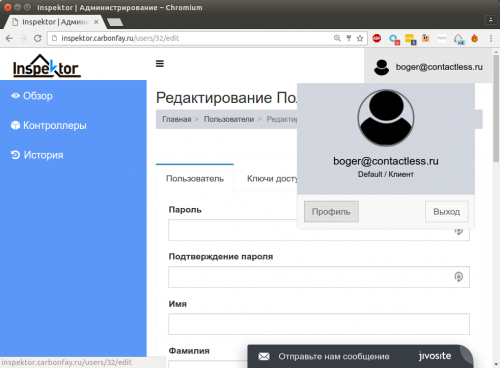
1. Go to the Profile section
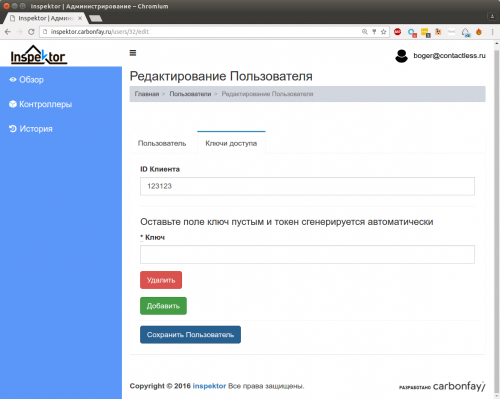
2. Go to the access keys section
3. Make sure that the "customer ID" field is not empty
4. Click "Add" and "Save"
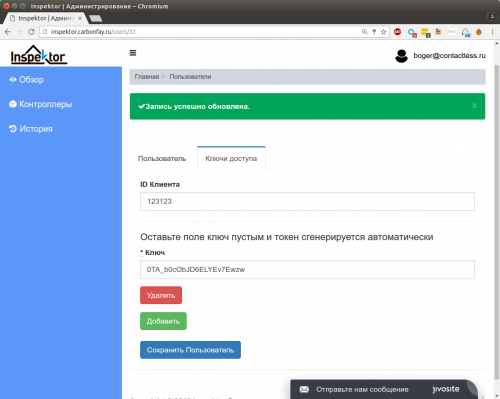
5. After successfully adding, go to the access keys section again. Copy the created access key.
Setting up a connection on the controller
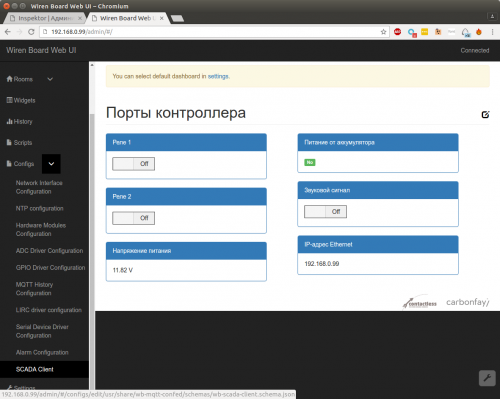
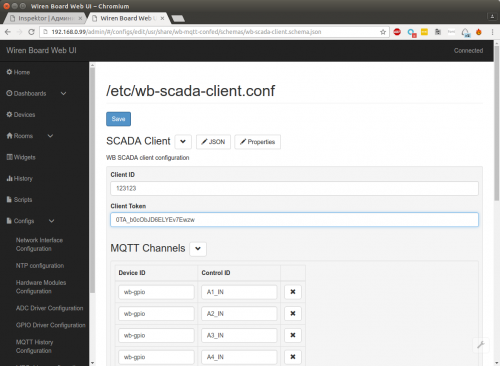
1. Откройте веб-интерфейс контроллера в браузере. Выбирете подменю "SCADA Client" в меню Configs.
2. В поля для ввода идентификатора клиента и ключа добавьте правильные значения. Сохраните кнопкой Save
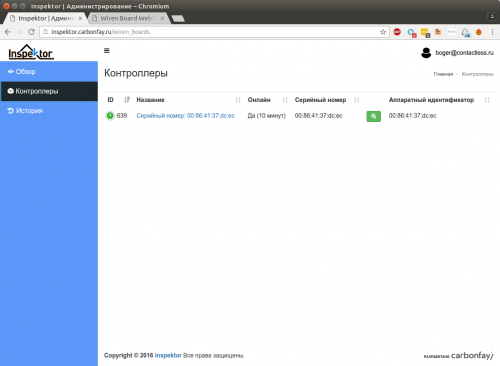
3. Убедитесь, что контроллер появился в интерфейсе Inspektor SCADA:
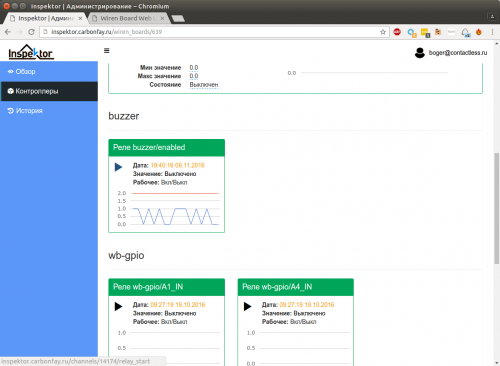
4. Убедитесь, что управление каналами работает. Для этого можно включить пишалку (buzzer/enable):
Настройка каналов для синхронизации
Необходимые каналы нужно явно добавить в список в интефейсе настройки:
Названия каналов можно найти в разделе Settings. Подробно про каналы см. статью MQTT
Отладка
Если что-то не работает, то на контроллере можно выполнить команду
tail -f /var/log/messages | grep wb-scada
чтобы просматривать *в реальном времени* сообщения об ошибках
