Wiren Board Web interface v.1.0
The Wiren Board controller has an integrated web interface. The interface allows to:
- monitor and manage the status of the controller and connected devices;
- connect the device to the controller;
- configure the controller and update its software;
- create automation rules for the built-in engine;
- configure SMS and email notifications;
- see the history of values (for example, temperature) on the graph.
Веб-интерфейс работает непосредственно на Wiren Board. В качестве веб-сервера работает nginx (в ранних версиях на {http://manpages.ubuntu.com/manpages/lucid/man1/webfsd.1.html webfsd]). Сам сайт написан на AngularJS и взаимодействует с MQTT через WebSocket.
How to get access to the web interface
Just enter the IP address of the controller (how to find out the IP address of the controller) into the browser command line . If you are accessing from an Apple device or a Linux computer and the network is the same for the device and the controller, enter 'wirenboard-XXXXXXXX.local' in the address bar, where XXXXXXXXXX is the eight-digit serial number of the controller. ( in older versions of the controller the access was via the "wirenboard.local" address).
Web interface Sections
Home
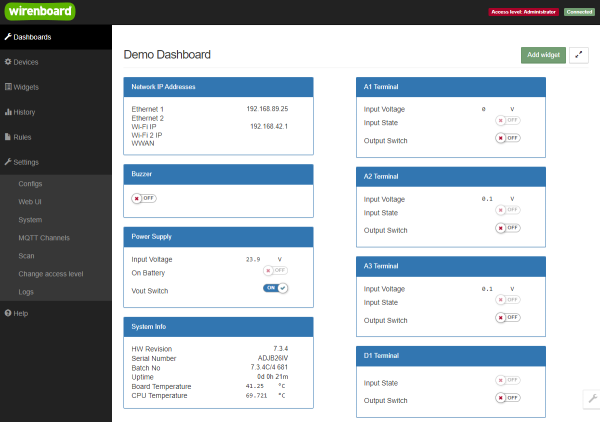
This is the user's home page. It displays the interface elements - the widgets. These can be readings from sensors (e.g. temperature sensor data), switches, relay control buttons. The set of widgets on the main page is fully customizable by the user.
Dashboards
Widgets with a similar purpose can be grouped in a panel, where all the necessary buttons, settings and indicators of sensors are located on one screen. For example, you can combine widgets to enable heating, air conditioning, display temperature and humidity. In the Dashboards section you can see all created panels. In fact, the Home section also displays one of the panels, which is selected in the settings.
Devices
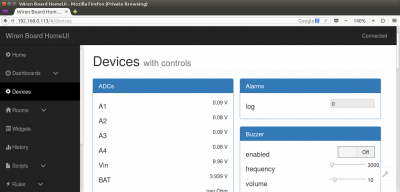
The Devices page displays all the hardware functions of the controller (status of inputs, outputs, power supply), as well as the connected sensors and devices. If you have connected an external module to the controller, all its changing values will be displayed here.
The options displayed on this page should not be mistaken for widgets - see #Widgets for details.
All the hardware devices should be configured in the #Configs section before they appear on this page
Rooms
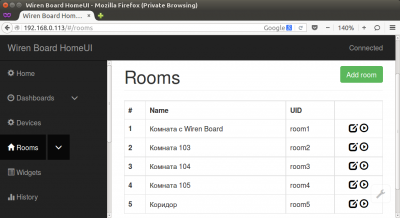
So, Rooming is the method of grouping the interface widgets.You can create many widgets for temperature or lighting sensors or switches located in different rooms or for heating control on many floors. To organize and not to lose the desired widgets when they are created, each of them links to a Room corresponding to the physical location of the device. This page displays a list of rooms, and here you can add, rename, or delete them. We'll abandon the use of Rooms In the new versions of the web interface.
Widgets
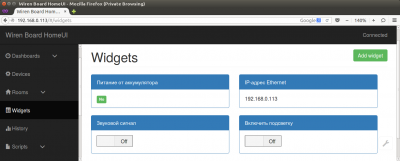
Widgets are the interface elements and they are created on the basis of hardware parameters of the controller and the devices connected to it - those which are displayed on the #Devices page.
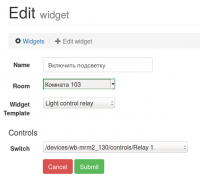
The example of a widget
Suppose you control the illumination of a picture on the wall using an external relay module connected to the controller. The equipment (relay module and illumination lamp) is located in room 103. Then you can create such a widget:
- Title: "Turn on backlight"
- Room: "Room 103" (a room with this name must be created in advance in the section Rooms)
- Widget type: "Light Control Relay" (light control) - the widget will look like a simple switch "on-off"
- Controls: /devices/wb-mrm2_130/controls/Relay_1" - the first relay on the module WB-MRM2 with address 130, which connection you previously configured on the Configs page.
History
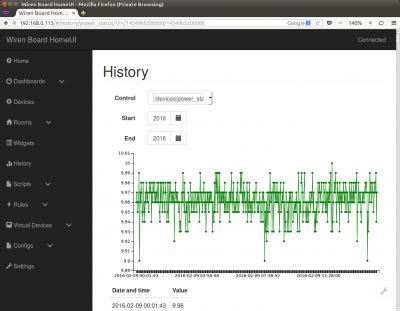
On the "History" page, you can view the history of changes in the values of hardware resources (for example, temperature sensors, voltage, meter readings). The history is represented simultaneously as a graph and a table of values with timestamps.
A utility for extracting history data from the internal database
Rules
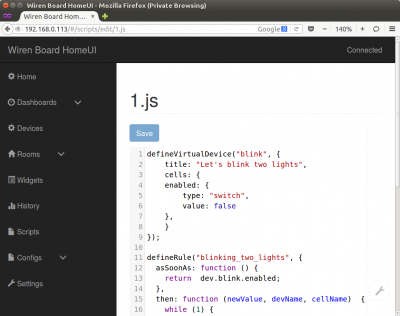
On the 'Rules' page, you can create and edit rules. Rules are written in a simple language, similar to JavaScript, and allow you to create rules ("turn on the lights from 10:00 to 18:00") or virtual devices (for example, a button in the interface that turns on and off all the lights in the building together).
Configs
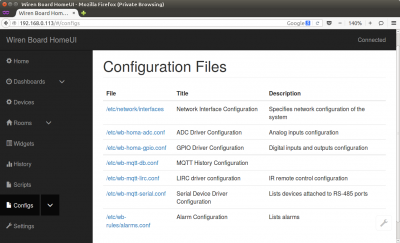
On the "Configs" page you can configure the controller and the connection of external devices:
- configuring network interfaces
- setting up connection of RS-485 devices
- setting analog inputs
- setting up digital inputs and outputs
- setting value logging
- infrared port setting (if connected)
- setting Alarm
= Settings
On the Settings page, you configure the web interface and controller settings. Here you can:
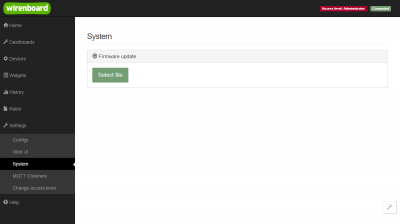
- upload new firmware to the controller;
- select the panel that will be displayed on the main page (Home);
- view a complete list of connected devices and and their hardware capabilities and not that other debugging information.
Standard web-interface-based tasks
Connect the RS-485 Modbus device and create control buttons on the main panel
RS-485: Setting via web interface
Upgrade the firmware of the controller
Firmware update via web interface
Cloud interface
The web interface of the Wiren Board can be placed not only on the controller itself, but also on a special server. Then the interface can always be accessed via the same IP-address.
You need to make some changes to the controller configuration for the controller to start working with the web interface hosted on the server.
This option is useful if your controller is behind the router and does not have a global IP-address, or if it is connected via GPRS - then it also most likely does not have a global IP, and even work with a remote web interface will consume too much traffic.
For now, this option is only available to corporate clients upon request.
=Configure authorized access to the controller's Web interface
The article password provides brief instructions on how to reconfigure the controller to provide authorized access to the Web-interface of the controller.
